As an amazon associate, I earn affiliate commissions from qualifying purchases.
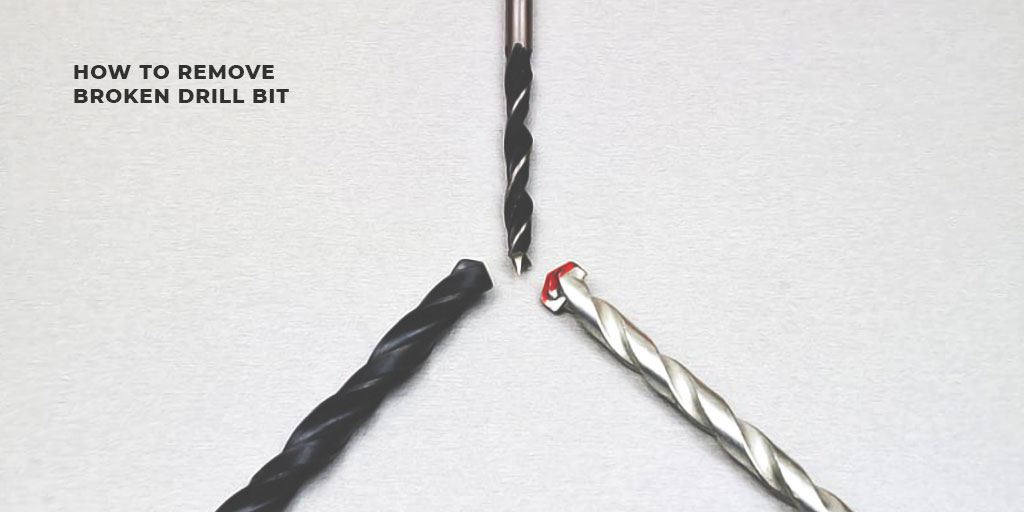
* How to Remove Broken Drill Bit – 3 Simple Methods
Most of us have used a drill before in our home or anywhere else. And we know how excruciating it can be when the broken drill bit gets stuck on the surface.
The troubling part of it all is that it’s not something you can leave out. Therefore, through this article on how to remove broken drill bits, we can help you.
It’s not an impossible task to do; instead, it’s relatively easy when you know what to do. So, we will teach you the steps on how to get that drill bit out and get back to your craft.
Let’s Get Started!
When it comes to removing a drill bit, there’s no ‘one way.’ There are several things you can do to get that bit out as quickly as possible. Therefore, we will describe those ways down below –
Method-1: Pull It Out!
Let’s start with something obvious, shall we? Instinctually, we always try to pull the drill bit out after it breaks and gets stuck on any surface. The bad part of this is that we try it with our bare hands.
Why is it wrong, you ask? Well, at first, it hurts, and there’s an oily substance on the lower part of the drill bit to keep it lubricated for smoother rotations. That oil is called the cutting oil.
Since it’s slippery there, you need to use something to give you a bit of grip. Therefore, you can use a clean cloth that will provide you with some grip so that you can jimmy it out of the surface it’s stuck on.
But that mostly depends on the surface. Using this method on wooden surfaces is the most effective, as wooden surfaces are much softer than other hard surfaces.
You have to use fabrics that have more grip on them. Because using silk or anything like that will not serve the purpose well. So, this is the most straightforward process on how to remove broken drill bits from wood.
Method-2: Bring Out the Pliers!
When it comes to having tools to help you around the house, a locking plier is the most useful unit. When you’re asking about how to remove drill bits from metal, pliers are your answer.
Along with the plier, you might need a few extra things like a chisel. Let’s go step-by-step with this –
- As we’ve already seen, you can remove the drill bit by gripping with clothes. We follow a similar initiation for this too, which is locking onto the broken end as much as possible.
- If there isn’t enough space for the plier to clamp onto, then you might need a chisel to clear some area around the broken drill bit and get a grip on it.
- In the last step, you grab onto the broken edge as tightly as possible with a plier, and you pull on the drill bit in a counter-clockwise motion and jimmy it out.
With that, you will quickly free the broken bit and get back to working again.
Method-3: Get the Extractor!
This method is one of the most commonly used methods for getting the broken bit out with more technicality. By technicality, we mean you need way more tools to get this done.
So, it’s important to point out some of the things you will need to get this done without any problems and all by yourself –
- Locking pliers
- Hammer
- Extractor bits
- Center punch
- Chisel
- Countersink drill bit
- Drill
Don’t get discouraged by seeing all these tools. It is actually very easy. And the best part of this is that you can now know how to remove a broken drill bit from an impact drill.
Let’s get on with the steps, shall we? –
- The first and foremost thing you need to do is flattening the drill bit’s broken edge. For that, you need to use a chisel to make the broken part smooth and flat.
- Then, you use a center punch to make a divot on the smoothened edge to use the drill on it. By using the hammer on the center punch, you can easily create that divot.
- Now, you use a countersink drill; you can find the best countersink drill bit anywhere. Try getting it smaller than the already broken drill bit so that you can easily make a hole where you made the divot.
- After that, you make a proper clearing to insert the extractor, and you put the coned part of the extractor inside the divot. You can use the hammer to properly get it in so that it can adequately hold it down.
- At last, you use the locking pliers to grab onto it hard and pull it out as safely as possible. You turn the broken bit counter-clockwise, which will slowly free the drill bit.
In this way, you can free the drill bit from even the toughest of surfaces, and everyone can do it if they have these tools.
Conclusion
As you can already imagine, there’s always plenty of other ways through which you can remove your broken drill bits. By reading this article, you now know three ways of how to remove broken drill bits. So, you can fix these problems all by yourself!