As an amazon associate, I earn affiliate commissions from qualifying purchases.
How to Change a Drill Bit without a Chuck Key
So you need to change the drill bit, but you’ve lost the chuck key. Great! Now, even though we recommend buying another chuck key to make sure you stay in the safe zone, you can try changing the drill bit without the key if there’s no way.
All you need to do is know 2 alternative processes. Now, with these methods, you can solve your problem, but only if you do it in the right way.
Here’s how to change a drill bit without a chuck key.
What Does a Chuck Do?
Before learning how to change your drill bit when you have lost your key, you need to know what a chuck actually does. Once you’re familiar with it, you will be much more comfortable following the steps we will mention to change out a drill bit.
Essentially a chuck is there to hold the drill bit firmly in place. A drill rotates in very high RPMs. The last thing you want for the drill bit is to come loose. Not only can that ruin whatever you’re working on, but it’s also very dangerous.
You will find chucks on all sorts of rotary tools, from professional-grade drills to drills meant for only home use. The ‘chuck key’ is what’s used to loosen the chuck, and the drill bits can then be taken out or changed.
So, you see why anyone would worry if they happen to lose the chuck key. Sometimes work can come to a complete halt if you can’t change the drill bit. By the way, if you want to check out some of the best drill bits, click here for a review of the top 10 best bits to buy.
Changing a Drill Bit without a Chuck Key
Yes, there are more alternative ways to change a drill bit. However, the ones we’re going to tell you are the easiest and safest ones. You can change a drill bit either by using pliers or by using a flat head screwdriver. Read the details about the methods and see which one suits you best.
Method 1: Using Pliers
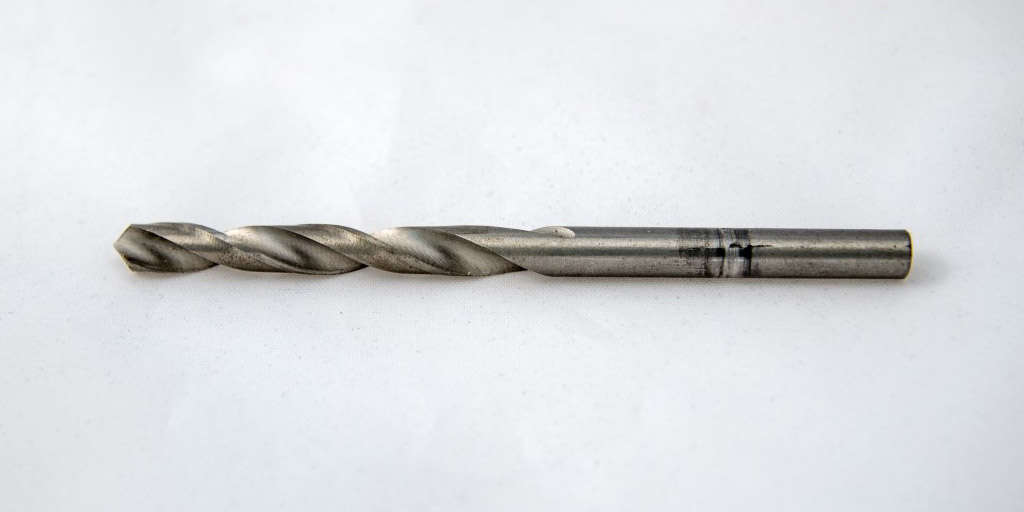
For this method, you will need pliers (duh) and a drill bit. The drill bit should fit in the hole of the chuck key. This is quite crucial for it to work. The pliers need to be big enough to be able to hold on to the drill chuck.
- Step 1 – Unlock the Chuck and Remove the Drill Bit
Start by inserting the drill bit into a chuck keyhole. Of course, make sure to use a glove to protect your hand. Otherwise, you risk slicing your hands wide open. And no one wants that.
- Step 2 – Twist the Chuck Counterclockwise to Loosen It
Once the bit is in its place, take the pliers and grip the chuck tightly. Make sure to have a firm hold on it. You can use a piece of cloth to protect the chuck and keep it looking intact.
Now, twist the chuck counterclockwise while you hold onto the chuck with the pliers. Doing this should unlock the bit easily. The bit will come loose, which will then make taking the bit out very easy.
- Step 3 – Install New Drill Bit
Now is the easy part. All you need to do now is put in new drill bits and lock it. To lock the bits, just rotate them in the opposite direction (clockwise).
Just for good measure, it’s sometimes recommended to check all the holes and make sure it’s tightened properly. But for the most part, one hole should be enough.
- Step 4 – Final Inspection
We aren’t quite done yet. Before you can use the drill again. Check to make sure that the drill bit is in the correct position and that it’s centered. Just run your drill with the new bit in place.
Don’t put the drill bit against anything; just do an open run test and check for any wobbling motion. If you can’t see any, you, my friend, just successfully changed a drill bit without a chuck key.
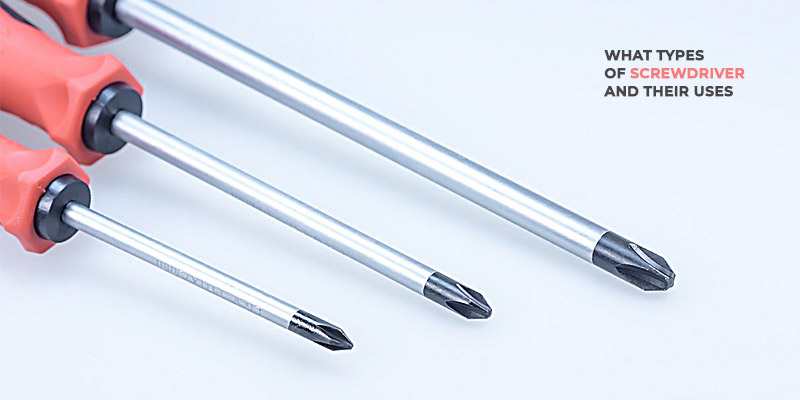
Method 2 – Using a Flat Head Screwdriver
Another way of doing it is using a flat head screwdriver. You will still need a drill bit that fits into the hole, though. You can, of course, use the same bit as before.
Some might say this is the safer method compared to the first one. But both are safe, to be honest. I will go into a bit more depth about how safe these methods are for your drill later on in the guide. So, keep on reading. Alright, let’s get into it.
- Step 1 – Place the Drill Bit in Its Position
Placing the drill bit is the same as before. The drill bit will go inside one of the keyholes. Again, make sure that it fits.
- Step 2 – Place the Screwdriver on the Gears of the Chuck
The chuck will most likely have gears on it. And the gaps in between should be enough for a screwdriver to latch on to it. The idea here is to use the screwdriver as leverage.
Place the screwdriver and make sure it’s held in its position. Now, just turn it counterclockwise, just like the previous method to loosen it.
One particularly important thing to note here is you run the risk of the screwdriver slipping out of its place.
Apply enough force when doing it, so it stays put and doesn’t cause any damage or slip out of your hand.
- Step 3 – Install New Drill Bit
Again, do the same thing as the previous method. Insert your new drill bit and tighten the chuck by rotating it clockwise this time. It’s as easy as that.
- Step 4 – Make Sure to Check If the Bit Is Installed Properly
Give the drill an open run and check for any wobbling motion on the drill bit. If there is none, then it means that the bit is centered, and you are good to go.
What to Do If You Have a Keyless Chuck?
Some chucks out there can be keyless. What can you do in that case? These are actually some of the easiest to open. Keyless chucks are primarily made from 2 parts and can be opened by hand.
To open it, just rotate it in the opposite direction. Some keyless chucks will even have written instructions on them that will show which direction to turn. When you unlock it, the bit will come out easily, and you can put in a new one.
Installing a new one is just the same affair, only you rotate the chuck in the opposite direction.
Are These Methods Safe?
Both these methods are completely safe for your drill and your chuck. Some people might think that the chuck drill can be damaged. But we have seen this method used to remove drill bits for years, and nothing major has happened.
Unless you mess up something majorly, you should be all good. One step for the extra precaution you can take is to use a strap wrench. They work the best when trying to get the drill bit loose without a key.
Wrapping Up!
Since you know by now how to change a drill bit without a chuck key, we think you’ll be good to go. Here’s something we want you to know, though. Whether you’re using a plier or a flat-head screwdriver, please don’t do the job with a low-end one. The chances of screwing up things in such a case can be very high.